Helldivers 1:Anti-Personnel Barrier
Jump to navigation
Jump to search


“A barbwire barrier delivered via airdrop. The barrier is very effective at slowing down incoming enemies and is a semi-permanent solution great for when you need to hold ground for longer periods. The Anti-Personnel Barrier is part of the Entrenched equipment kit.
— Armory Description
Stratagem Code
Players must enter the following sequence, using the controller d‑pad, in order to call down this Stratagem up to five times per mission:
![]()
![]()
![]()
![]()
![]()
Unlock Requirement
The Anti-Personnel Barrier is a DLC Stratagem, available at any rank to those who purchase the Entrenched Pack.
Upgrades
| Upgrade | Cost | Effect | |
|---|---|---|---|
| Mk1 | Basic variant, no upgrades. | ||
| Mk2 | Increases the length of the barrier. | ||
| Mk3 | Supply priority now allows the barrier to be deployed more often (cooldown reduced from 60 seconds to 40 seconds). | ||
Gameplay Tips
- Each barrier despawns after 5 minutes.
- Helldivers can safely cross Anti-Personnel Barriers by going prone or crawling through them.
- Players using a shield (SH-20 Shield Generator Pack or SH-32 Directional Kinetic Shield) will take no damage from the barbwire barrier, although they will still be slowed down.
- The game treats the deployment of barbwire barriers in the same way it treats Airdropped Anti-Personnel/Anti-Tank Mines and Airdropped Stun Mines, meaning that only five sets of either barbwire barriers, lethal mines and/or stun mines can be deployed at the same time. Deploying a sixth set of either Stratagem by any player will cause the first set to despawn immediately. This limit is shared by the entire Helldiver squad and applies to any map-size and mission-type, meaning that players can cancel out each other's lethal mines, stun mines and barb wire if they keep spamming these specific Stratagems.
- In contrast to enemies facing the Incendiary Bombs firewall, enemies confronted by an Anti-Personnel Barrier will still attempt to cross it. They will take minor damage and start bleeding, slowing their movement down to a crawl. Weak enemies like Bug Scouts are killed when attempting to cross the barrier, while vehicles such as Cyborg IFVs are immune to its effects.
- Helldiver vehicles and Exosuits take a small amount of damage when passing a deployed Anti-Personnel Barrier. The M5-32 HAV (when upgraded to Mk3) and the TD-110 Bastion are immune to this, however.
Gallery
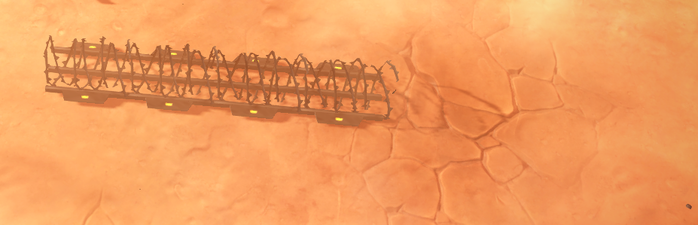
Anti-Personnel Barrier (Mk1)
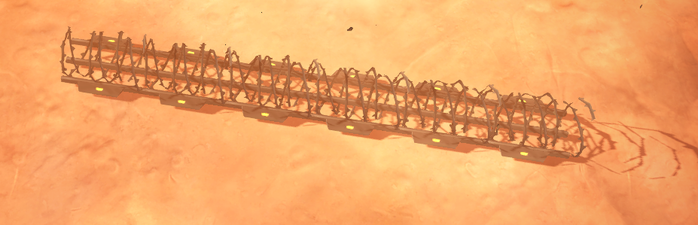
Anti-Personnel Barrier (Mk2 & Mk3)

